How to Make DIY Toys at Home for Kids Without Spending Much | Motorized Wooden Jeep
أغسطس 09, 2026


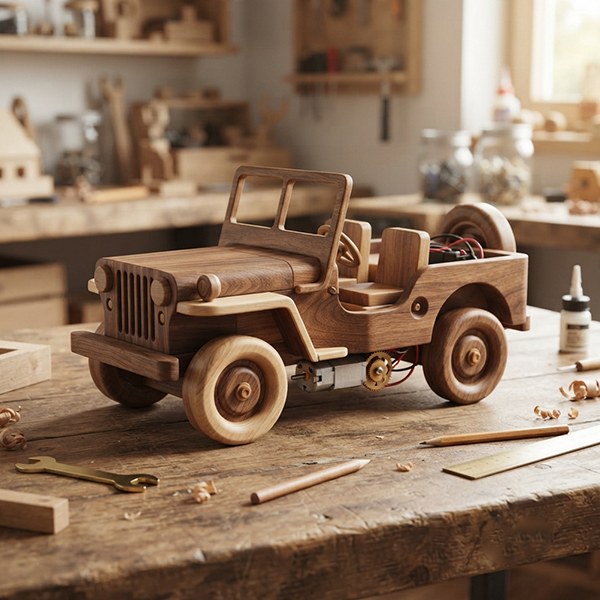
What if an old toy motor, a few pieces of scrap wood, some recycled materials, and a small battery box could become a working wooden Jeep?
This DIY project transforms the wooden Jeep design you provided into a small battery-powered motorized toy. It is ideal as a weekend family project, preschool STEM activity, makerspace project, or classroom demonstration.
Important: This design is for a small tabletop/floor toy, not a ride-on vehicle. Children should not sit on or ride the Jeep. Adults should handle wiring, cutting, drilling and batteries.
The Jeep in the reference drawing is approximately:
The great part is that the wooden body doesn't need to be redesigned from scratch. You can adapt the existing Jeep by adding a small motor, drive wheels, battery holder and switch.
Don't buy everything new.
Look around for:
The reused motor is the heart of this project.
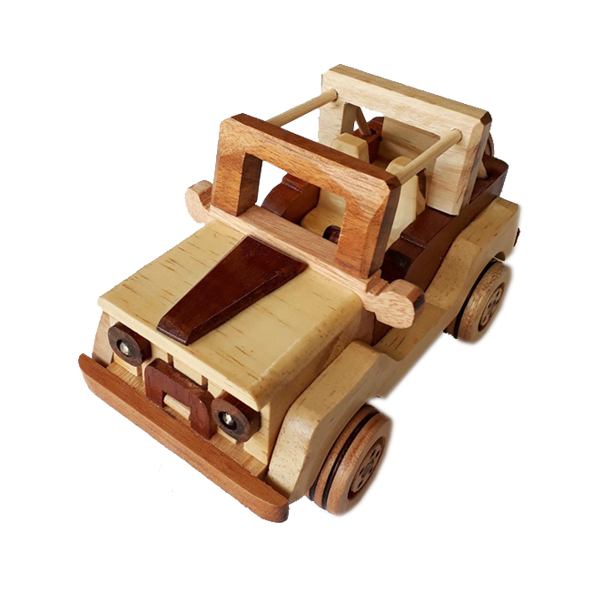
Use the supplied drawing as the main reference:
Length: 16 cm
Height: 8.5 cm
Before adding the motor, check that there is enough space underneath the Jeep for:
The supplied motor is a dual-shaft geared DC motor.
The two shafts are useful because they allow the drive wheels to be positioned on both sides.
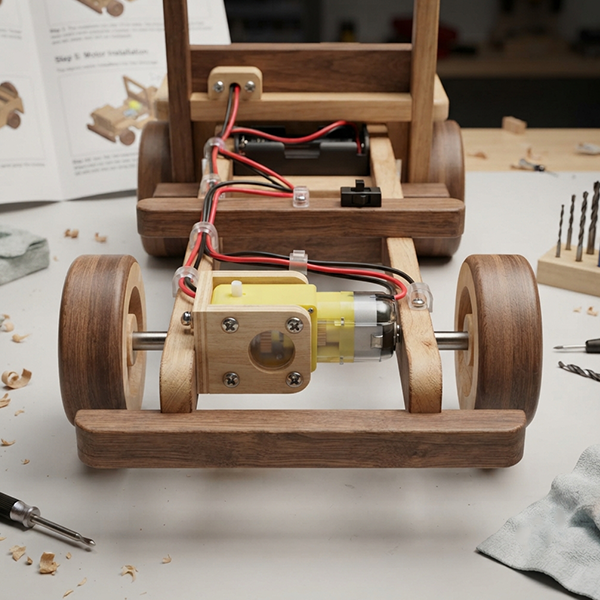
Create a simple motor mounting block from scrap wood.
Don't glue the motor directly to the wooden body.
A removable motor mount makes future repairs much easier.
This is the most important mechanical step.
The dual-shaft motor should be positioned across the rear of the Jeep.
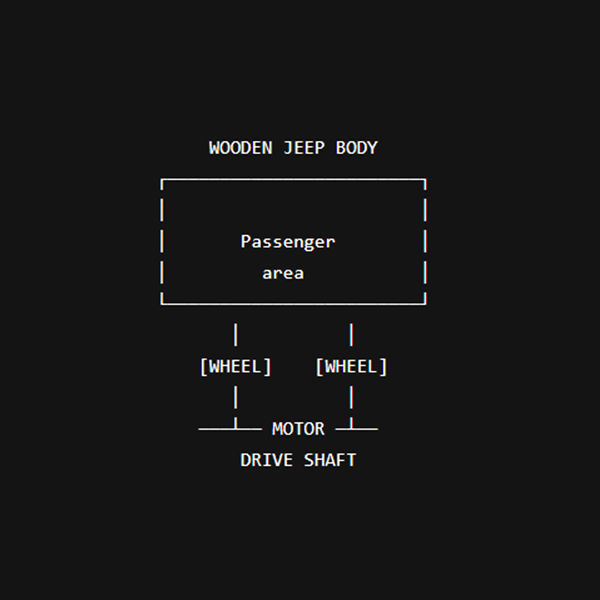
The drive wheels should rotate freely without rubbing against the wooden body.
Turn the wheel by hand.
It should rotate smoothly.
Then gently rotate the motor shaft by hand and make sure:
Install a small wooden axle between the front wheels.
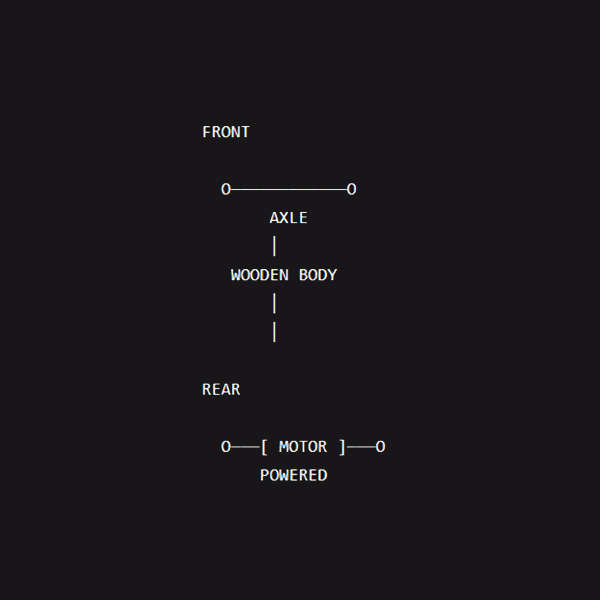
Make sure the front axle is aligned with the rear drive axle.
If the front axle is crooked, the Jeep may constantly turn toward one side.
For a simple and child-friendly version, use a low-voltage AA battery holder.
A 2 × AA holder = approximately 3V
Only use this voltage if it matches the rating of the reused motor.
A good location is:
inside the Jeep body or underneath the rear section.
The battery holder should be securely fixed so that it doesn't move while the Jeep is travelling.
They're inexpensive, easy to replace and simpler for a classroom project than loose rechargeable cells.
Never leave loose batteries accessible to small children.
The electrical system is surprisingly simple.
Here is the complete practical structure:
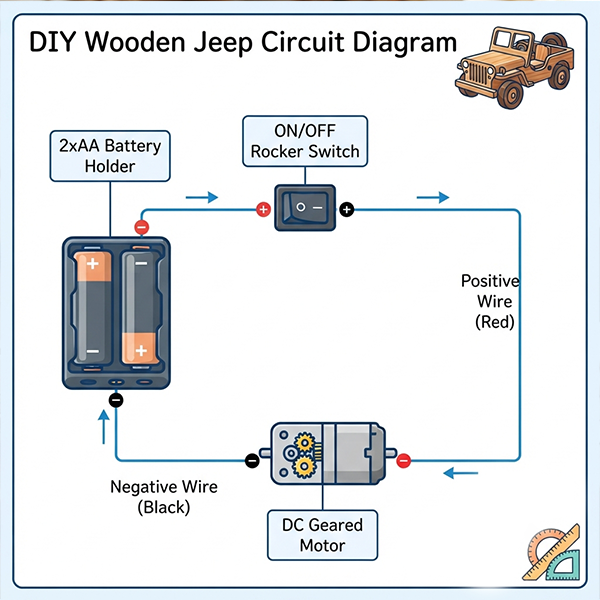
For an educational version, you can add a small LED to demonstrate the electrical circuit.
But the LED should have the correct resistor and polarity. It isn't necessary for the Jeep to work.
Before installing the motor permanently, test it.
Simply reverse the motor's polarity: Motor wire A → Battery -
Motor wire B → Switch/Battery +
Reversing the polarity of a simple DC motor reverses its rotation.
Before placing the Jeep on the floor, lift the vehicle slightly.
Turn the switch ON.
Watch the wheels.
Check:
✅ Both drive wheels rotate
✅ Wheels don't wobble
✅ Motor doesn't touch the floor
✅ Wires don't touch moving wheels
✅ Battery holder remains secure
✅ Switch works correctly
Only after this test should you place the Jeep on the floor.
Put the Jeep on a flat, smooth surface.
Good surfaces include:
Avoid:
Turn the switch ON.
And...
Watch your little wooden Jeep come alive! 🚙⚡
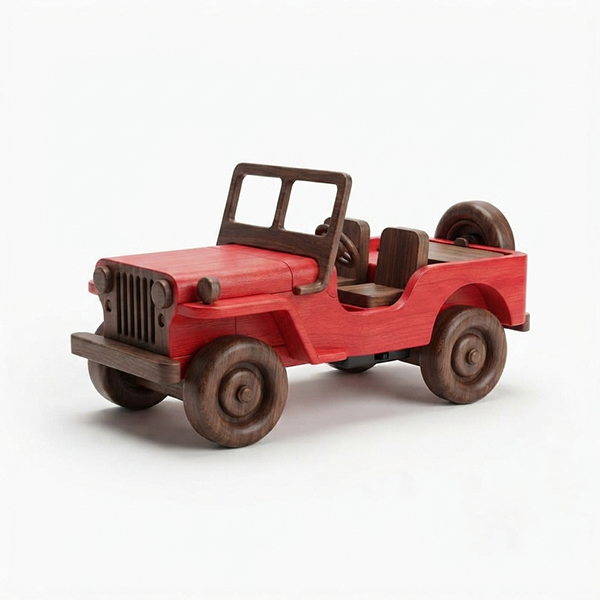
Now comes the fun part.
Paint it in a bright colour such as:
Add:
This project can become a simple STEAM learning activity.
Children can learn about:
How batteries provide electrical energy.
How a switch controls electrical flow.
How a motor produces rotation.
How rotating wheels transform motor movement into vehicle movement.
Children can measure:
Children can design their own Jeep colours and decorations.
Ask:
"Why does the Jeep turn left?"
"What happens if we reverse the motor wires?"
"What happens when the batteries become weak?"
"How can we make it travel further?"
These questions turn a simple toy into a hands-on STEM experiment.
Teachers can turn the project into a mini engineering challenge.
Build a Jeep that travels 1 metre.
Make the Jeep stop at a target.
Measure how far it travels in 5 seconds.
Change the wheel size and observe the difference.
Design the most creative Jeep body.
This makes the activity suitable for maker education, STEM clubs, homeschooling and preschool supervised activities.
The secret isn't buying cheap materials.
It's reusing what you already have.
Old toy → Motor
Scrap wood → Jeep body
Broken toy → Wheels
Old electronic toy → Switch
Unused battery holder → Power system
Leftover paint → Decoration
This makes the project a great example of:
"Don't throw it away. Turn it into something new."
Because this project contains electricity, moving wheels and small parts:
For preschool use, the teacher/adult should operate the electrical parts and supervise the activity.
FAQ
You can make inexpensive DIY toys by reusing materials such as scrap wood, broken toys, old toy motors, wheels, switches and battery holders. For example, a small wooden Jeep can be converted into a motorized toy using a reused DC geared motor, a compatible low-voltage battery holder and an ON/OFF switch.
Install a small DC geared motor near the rear axle and connect its shaft to the drive wheels. Then connect a compatible battery holder and ON/OFF switch to the motor. Test the wheel alignment and motor rotation before placing the vehicle on the floor.
An old toy motor can be reused to make small DIY projects such as wooden cars, mini Jeeps, fans, rotating displays, simple robots and STEM classroom experiments.
Simple motorized cars, wheel-and-axle models, building projects, marble runs and basic electrical circuits can introduce preschool children to engineering and problem-solving when conducted with appropriate adult supervision.
Build an Eco-Friendly Moving Toy Using Wood, Simple Electronics & Creativity Eco-friendly

يوليو 22, 2026
Cookie preferences