How to Make DIY Toys at Home for Kids Without Spending Much | Motorized Wooden Jeep
Th08 09, 2026



Build a Real Moving Wooden Tractor Your Kids Will Love
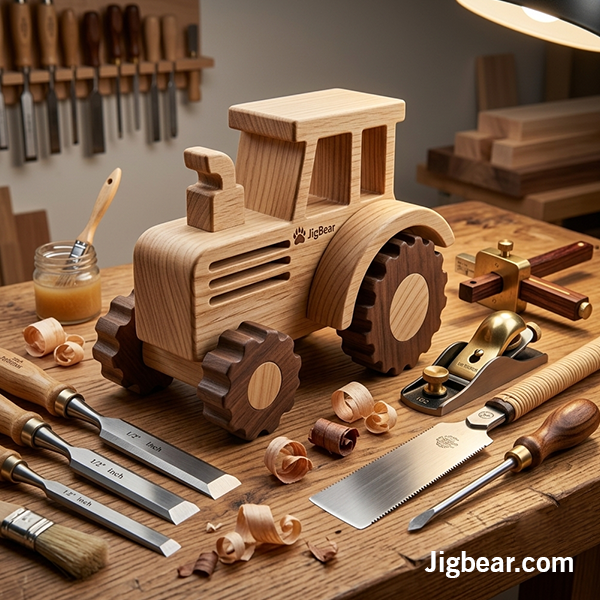
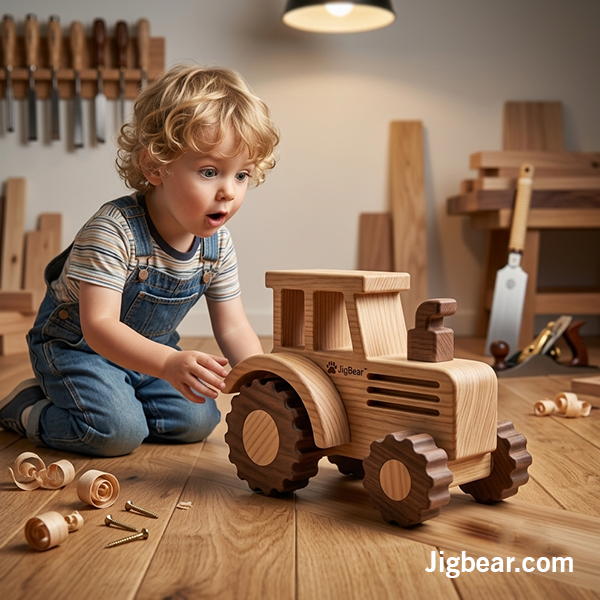
Imagine the excitement on your child's face when a wooden tractor they helped build starts driving across the floor.
Instead of another plastic toy, your family can build an Eco-friendly wooden tractor that teaches engineering, creativity, woodworking, and basic electronics and all in one fun weekend adventure project.
This DIY project transforms a beautiful handcrafted wooden tractor into a motorized moving toy using an affordable TT geared motor and battery pack.
Whether you're a parent, preschool teacher, or homeschool educator, this project offers a wonderful way to introduce STEM concepts while creating lasting family memories.
Children learn best by making.
This project develops:
Unlike disposable plastic toys, this tractor becomes a treasured handmade keepsake.
Based on the previous moving vehicle project:
These components create a simple motorized drivetrain.
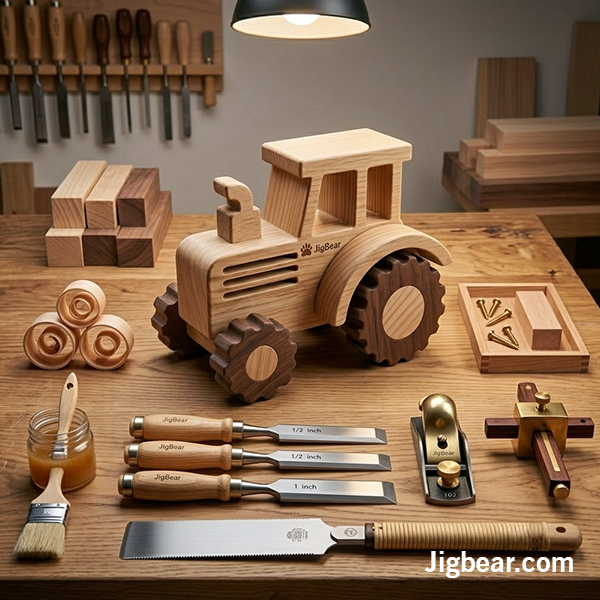
Using your attached drawing:
Overall Length : 24.5 cm
Height : 16.2 cm
Rear Wheel Diameter :8.8 cm
Front Wheel Diameter : 4.5 cm
These dimensions create an ideal size for kids hands.
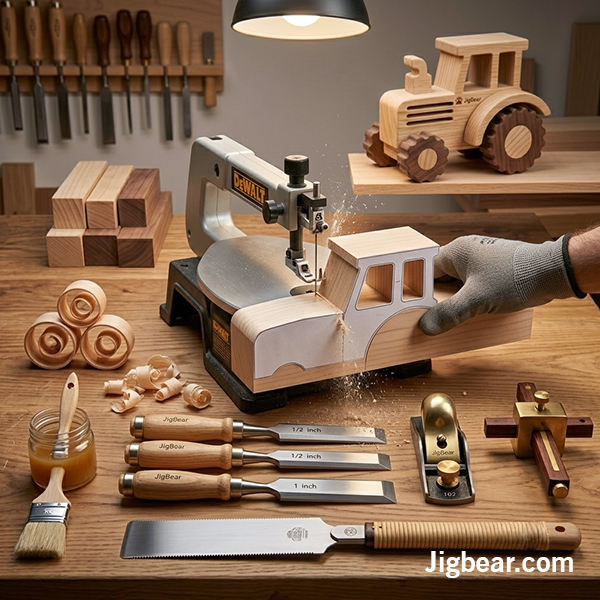
Print the tractor template.
Transfer it onto plywood.
Carefully cut:
Smooth every edge using sandpaper.
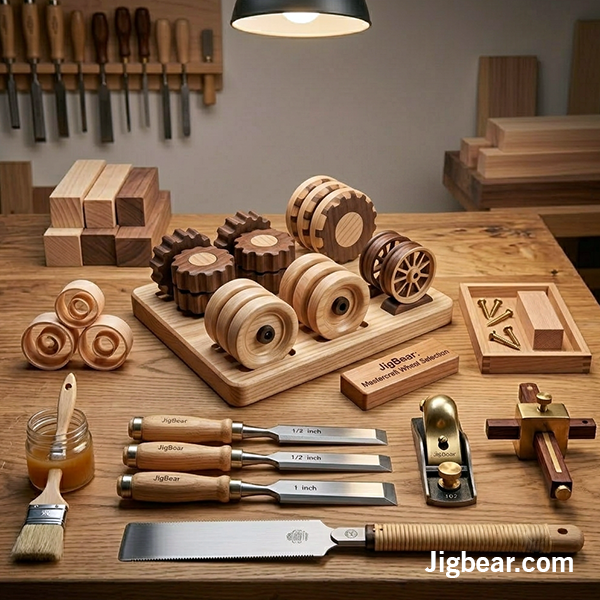
Cut
Round every edge.
Drill center holes.
For extra style, use darker hardwood for the wheels.
Glue
Clamp everything until dry.
Allow several hours before moving to the next step.
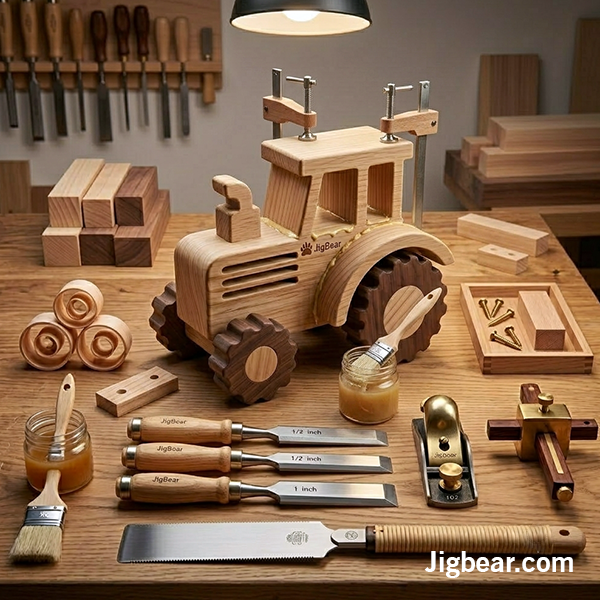
This is where the tractor becomes exciting.
Mount the TT geared motor underneath the rear section of the tractor.
Secure it firmly using screws or strong hot glue.
The motor should align with the rear axle.
The earlier DIY motor vehicle project mounts the motor securely to the chassis before attaching the wheels.
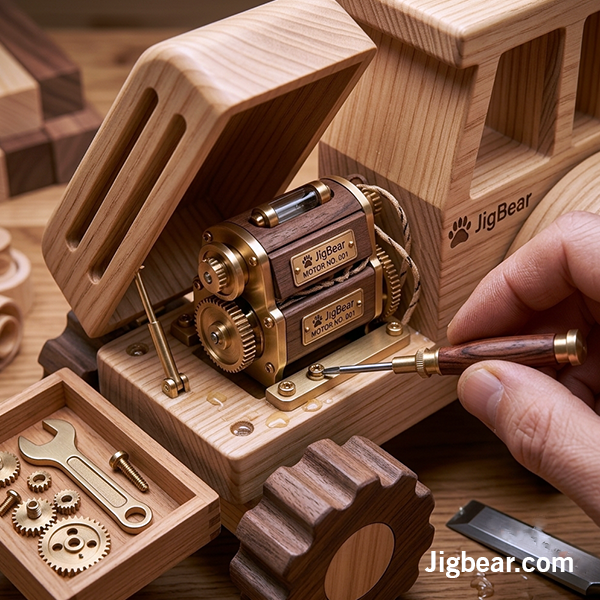
Mount the battery holder beneath the tractor body.
Place the ON/OFF switch where children can easily reach it.
Keep the wiring neat.
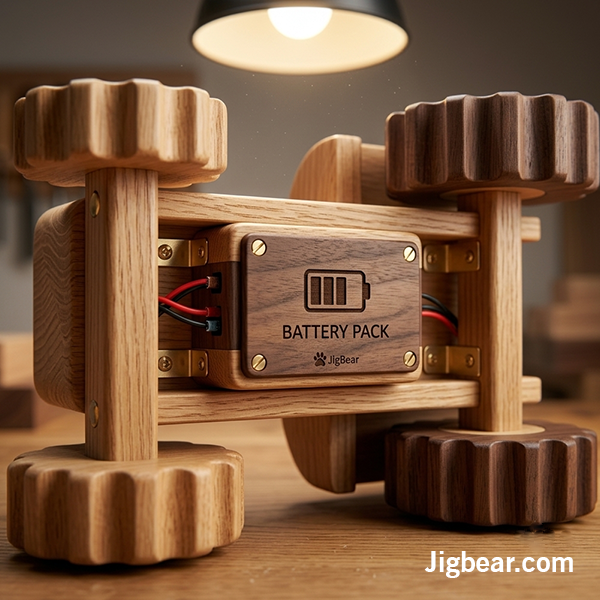
Attach the rear wheels directly to the motor axle.
Make sure they rotate freely.
The front wheels should rotate on a wooden dowel acting as the steering axle.
The previous project uses a fixed front axle through a straw guide and motor-driven rear wheels.
Connect
Battery Pack
↓
Switch
↓
Motor
Check
Positive
Negative
If the tractor moves backwards, reverse the wires.
This changes the motor rotation direction.
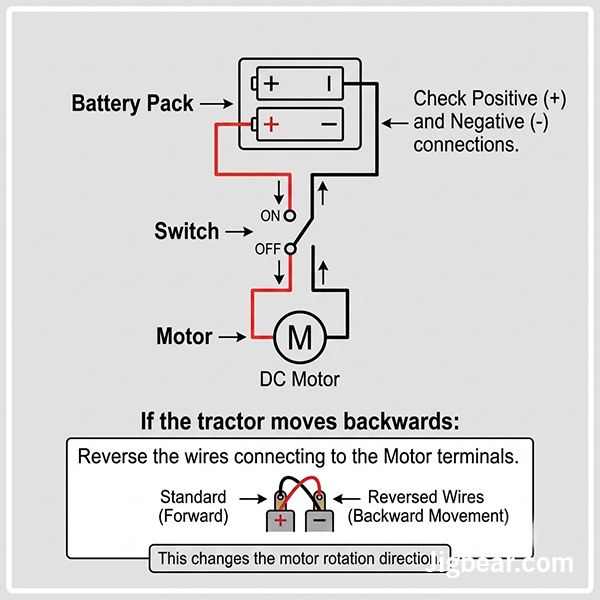
Turn the switch ON.
Watch your handcrafted tractor begin driving.
Celebrate!
Children absolutely love this moment.
Paint
Farm logos
Farmer driver
Trailer
Hay bales
Animals
Mini fence
Make every tractor unique.

Children discover:
Energy
Motion
Gear reduction
Balance
Weight distribution
Traction
Mechanical design
Engineering
Cause and effect
Scientific observation
Classroom Race Day
Obstacle Course
Farm Theme Week
Harvest Festival
Engineering Challenge
Design Competition
Build Your Own Farm
Work together.
Let children measure.
Allow mistakes.
Ask questions.
Encourage redesign.
Celebrate creativity.
Always supervise children.
Use safety glasses.
Keep glue guns away from young children.
Sand rough edges thoroughly.
Use non-toxic finishes.
Learn how to make a fun motorized wooden Jeep at home using scrap wood, a reused DC motor, batteries and a sim...
Build a moving cardboard car with kids using simple recycled materials. A fun STEM activity for preschoolers,...

Th07 22, 2026
Cookie preferences